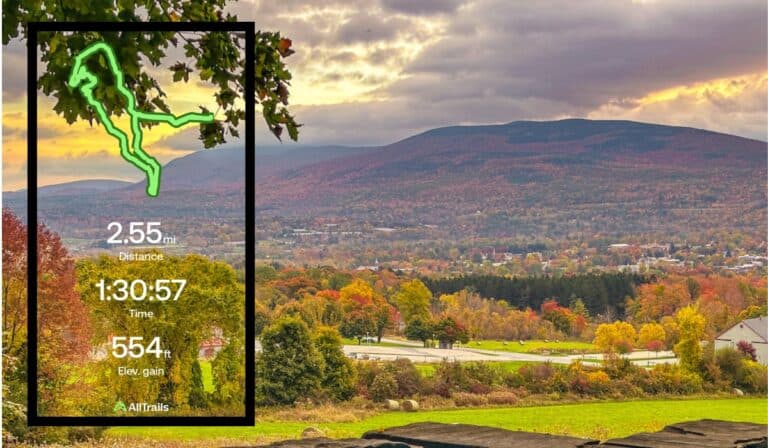
iPhone Landscape Photography Tips for Travelers (With Examples from My Road Trips)
Note: Advertising is how we keep this site free for you to enjoy, and we earn a commission from affiliate links that may be included in this post. Thank you for supporting Back Road Ramblers!
The natural world provides plenty of inspiration for photographers, which is why landscape photography is such a popular genre. It’s also a great place to start your photography journey.

In landscape photography, you capture a stationary scene. The lighting and weather patterns may change, but you don’t have to worry about people, animals, or other moving objects as you compose your shot.
But can you take stunning landscape photos with just an iPhone?
Yes! With a few setting adjustments and a solid understanding of light and composition, you can take amazing landscape pictures with any phone or camera, including the one in your pocket right now. I took all the photos in this post on various road trips with an iPhone 14 Pro Max.
iPhone Landscape Photography at a Glance
- Turn on first The grid: Settings > Camera > Grid
- Best light Golden hour, the hour or so after sunrise and before sunset.
- Waterfall trick Shoot a Live Photo, then choose Long Exposure in the Photos app
- After dark Night mode (iPhone 11 and later) plus a tripod
- My phone iPhone 14 Pro Max
- Always in my pocket A small microfiber cloth and a selfie-stick tripod
Last checked by Tara: November 2026
My take
Every photo tip in this post is useless if you’re shooting with a smudged lens, and the results are very hard to fix after the fact. No editing app will save it. I keep a small microfiber cloth in my pocket, and I try to remember to wipe the lens before every shoot. It’s the cheapest photography gear I own and the one I’d never leave home without.

Hopefully, you now have a good sense of what makes a striking landscape photo and the types of landscape photography you can experiment with.
But now, let’s dig a little deeper. Here are the tools you can use to take amazing landscape photos with your iPhone.
Best iPhone Camera Settings for Landscape Photos

iPhone cameras keep improving with every new model, and while they may not outperform a professional DSLR, they are extremely convenient and easy to use. Here are a few settings to experiment with when taking landscape photos with your iPhone:
| When you want… | Use | How |
|---|---|---|
| Straight horizons and balanced shots | Grid | Settings > Camera > Grid |
| Silky waterfalls and waves | Live Photo + Long Exposure | Open the Live Photo in Photos, tap the Live button at the top, choose Long Exposure. Use a steady hand or a tripod to get the shot. |
| A bright sky over a dark foreground | AE/AF Lock | Press and hold on your subject until AE/AF LOCK appears, then drag the sun icon down. |
| Wide mountain or lake views | 0.5x lens or Pano | Tap 0.5x, or swipe to Pano and pan slowly. |
| Low light and starry skies | Night mode | Turns on by itself in low light (iPhone 11 and later); use a tripod. |
| Black-and-white photos | Mono or Noir filter | Shoot in color, then Edit > Filters in Photos. |
- Grid: Using the grid tool (which, when enabled, overlays your screen) will help you get a straight horizon line. It’s also great practice for utilizing the rule of thirds. This tool alone has saved me a lot of extra editing to straighten the horizon!
- Night mode: If you have an iPhone 11 or later, you have Night mode, and you should be using it. With a tripod, Night mode can pick up stars on a clear, dark night. Because iPhones use such a small sensor, this is an area where phones don’t compete well with DSLRs.
- Panorama: Capturing a scene that just won’t quit? Add some length to your composition by shooting in Panorama mode. Panoramas are ideal for mountain ranges and other scenes that seem to go on forever.
- Live Photos: Did you know you can turn a Live Photo into a long-exposure image? Since a Live Photo is actually a short video, you can easily convert it to a long-exposure shot in the Photos app. This feature turns waterfalls and ocean waves into dreamy photos, as long as you shoot with a steady hand or a tripod. Oh, and it doesn’t work well on windy days!
Nature Landscape Photography Tips

Grab your iPhone and head outside for a road trip or walk, and follow these tips for stunning captures of the natural world:
- Shoot during the golden hour or the blue hour: Sunset photos are probably the most popular type of landscape image, but you don’t have to shoot the sun to use that beautiful light. The golden hour is the period immediately before sunset and just after sunrise, when the light is warm and perfect for photography. For cooler tones, shoot during the blue hour, which is the period just before sunrise and immediately after sunset.
- Use AE/AF lock to keep your image sharp: When framing your landscape photo, hold your finger on the focal point on your screen so that the main part of your image is sharp and properly exposed.
- Keep your phone still when shooting: You don’t necessarily need a tripod for shooting landscapes, but you will want to reduce camera shake to prevent blurry photos. For hand-held shooting, just prop your elbow on something sturdy to keep your phone steady.
- Find interest in the foreground: To add interest to your natural landscape photos, look for a compelling element in the foreground to focus on. This can be a cool rock, a patch of flowers, or something else. Get creative!
How to Get Your Dog in the Shot
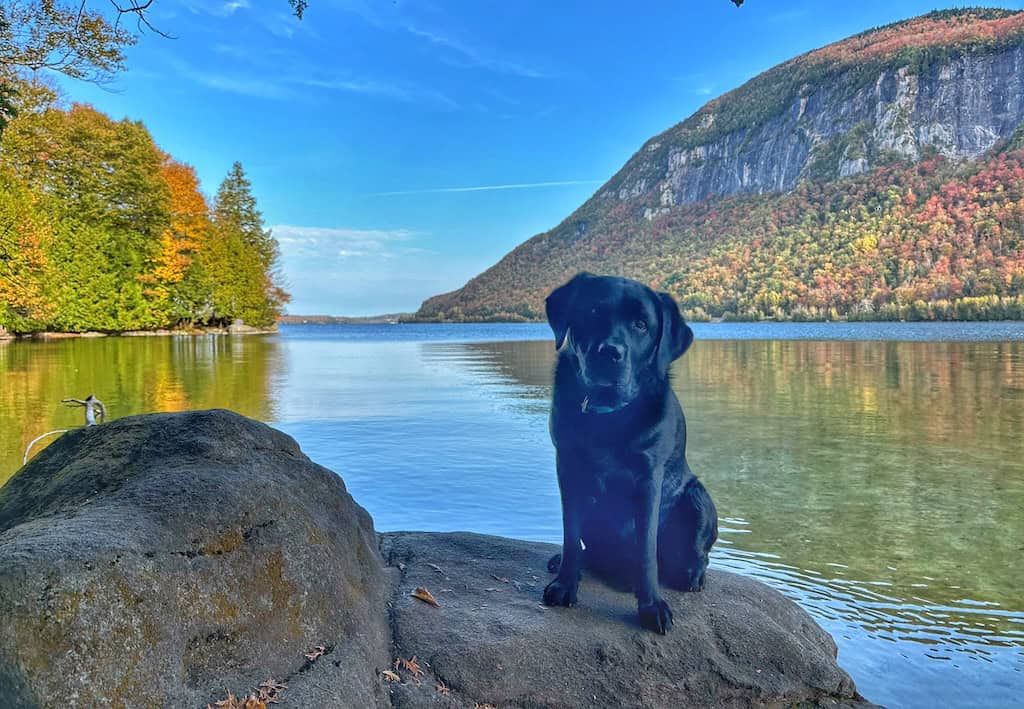
A dog sitting at the edge of an overlook makes for a pretty epic landscape photo (says this dog-lover), and it’s great for showing scale. Instead of an iPhone trick, this one comes down to training. Malinda and Ron have to hold a stay while I frame the shot, check the horizon, and tap to lock focus, and that’s not always easy.
Urban Landscape Photography Tips

You don’t have to limit yourself to natural landscapes. Urban areas offer plenty of opportunities for striking landscape photography. Here are some tips for elevating your urban landscapes:
- Shoot from different perspectives: Urban landscapes lend themselves well to unique angles, so don’t be afraid to climb a few sets of stairs or shoot upward from your knees. Your extra effort will pay off!
- Use artificial lighting for night shots: Night Mode will help brighten your night scenes, but urban environments also offer plenty of alternative lighting options that will make your images brighter and more interesting. Use ambient lighting to your advantage.
- Bring a small tripod: Hand-held shooting with Night Mode enabled can add unwanted blur to your photos. A small, affordable tripod will go a long way toward creating sharper evening and night landscapes.
- Find interesting reflections: Look for ways to creatively incorporate windows, puddles, lakes, and rivers into your urban landscapes.
Tips for Black-and-White Landscape Photos
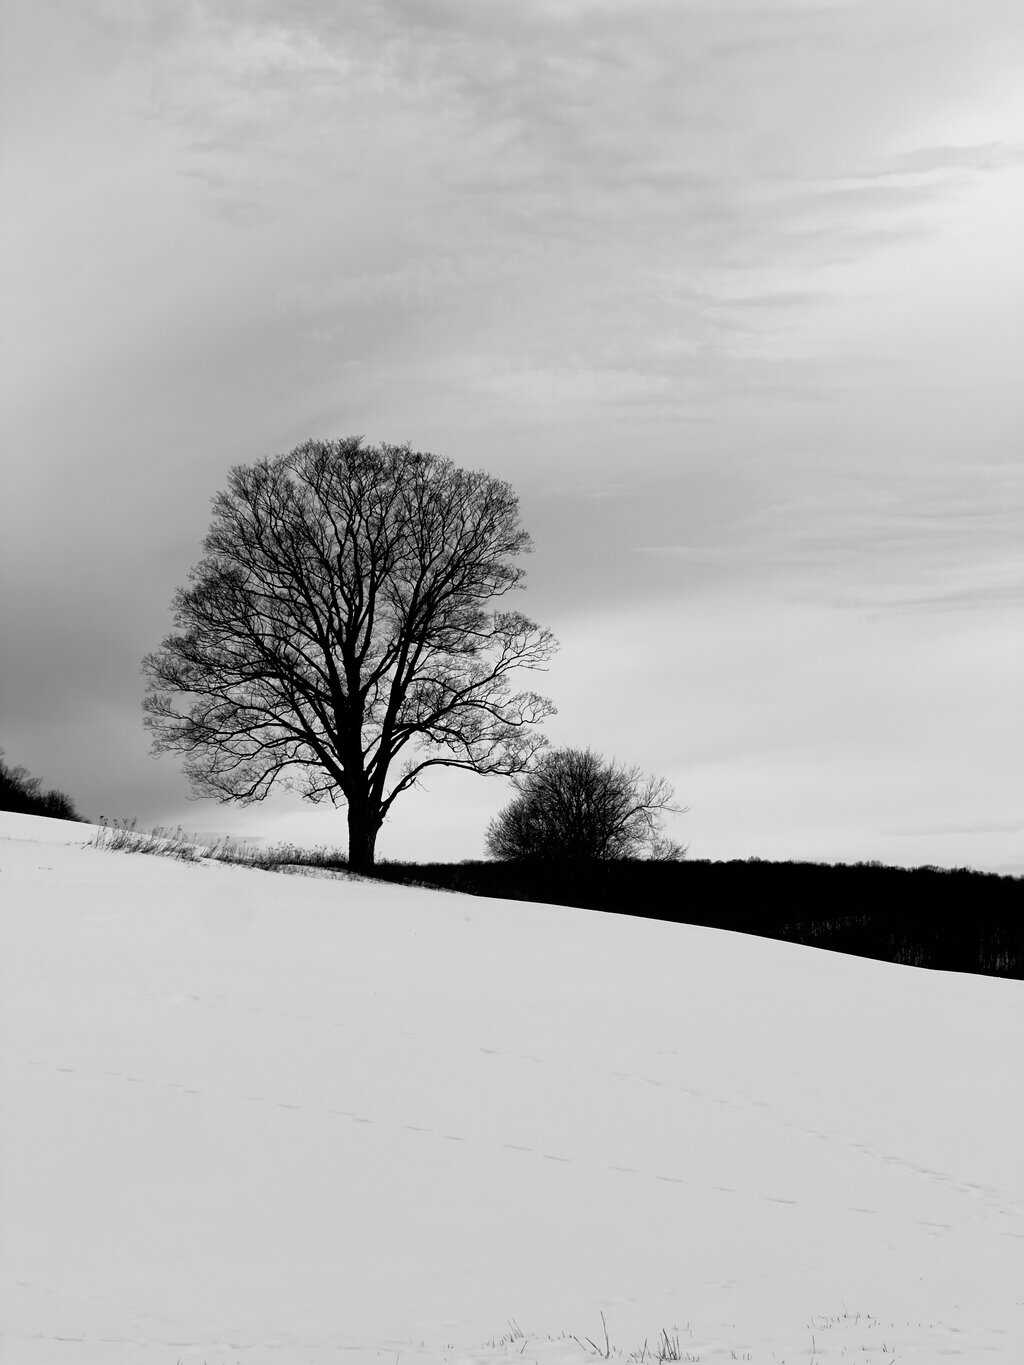
Landscapes often work well in black and white, so if you’ve been on the fence about experimenting with monochrome photography, this is your chance to try it. Here are some tips for incredible black-and-white landscape photos:
- Look for stark contrasts within your scene. The best black-and-white landscape photos have a high dynamic range, meaning there is a wide range between the lightest and darkest parts of your photo, with a variety of tones. Look for scenes with brights and darks so that you can show the contrast in your image.
- Shoot in bright sunlight: Shooting with the sun high overhead isn’t always best for landscape photography. One exception is when you’re shooting in black and white. In this case, bright sunlight creates deep shadows and high contrast, which looks great in monochrome.
- Shoot in color and add a black-and-white filter later: Shooting in color gives you more options later. Will the scene look better in black and white? Add a filter to find out.
What’s in My Phone Photography Kit
- Small selfie stick with a remote shutter and tripod Night mode and long exposures need a still phone, and my hands are not that still. This little tripod fits in my pocket!
- Power BankEspecially useful in cold weather, a small power bank keeps my phone battery from draining. This one has built-in cables so I can charge on the go.
- Small microfiber cloth A smudged lens is impossible to correct later, so I keep one in my pocket and try to clean the lens before every shoot.
iPhone Landscape Photography FAQ
What is Considered Landscape Photography?
The definition of landscape photography varies depending on who you’re asking. But, simply put, a landscape photo is an image in which an outdoor scene is the main subject.
While you can certainly feature a person or animal within a landscape, the main focus is always the landscape itself. Buildings, boats, and vehicles may be included, but the natural features within the image are meant to be the main attraction.
What Makes a Good Landscape Picture?
Beauty is always in the eye of the beholder.
That said, your definition of what makes a stunning landscape photo may differ from someone else’s. Still, certain qualities consistently make amazing landscape photos stand out.
These key components will elevate a good landscape photo into a great one:
A unique composition: The best landscape photos aren’t the same old scenes you find in every calendar. Instead, they capture unique angles or rarely seen vantage points that make a composition more interesting.
A strong sense of place: Capturing the essence of a place, whether it’s the dark, mystical feeling in an ancient forest or the bright, carefree vibe on a tropical beach, really makes a photo stand out.
A focal point: Whether you’re photographing a mountain sunset or crashing waves on the beach, your goal should always be to draw your viewer’s attention into the scene. One way to do this is to add a strong focal point to the foreground of your image. This can be a collection of flowers, a striking rock formation, or even a person hiking along a trail.
What are the best iPhone settings for landscape photos?
Turn on the grid (Settings > Camera > Grid) to keep horizons straight and use the rule of thirds. Leave Live Photos on so you can turn waterfalls into long exposures later, and press and hold on your subject to lock focus and exposure before you shoot.
How do I take a long-exposure photo on my iPhone?
Shoot a Live Photo while holding your phone as still as you can, or set it on a tripod. Open the photo in the Photos app, tap the Live button near the top of the screen, and choose Long Exposure. Moving water turns silky while rocks and trees stay sharp.
Which iPhones have Night mode?
Night mode works on the iPhone 11 and later. It turns on by itself in low light, and you can tap the moon icon to change the capture time. A tripod gives you the sharpest night shots.
When is golden hour?
Golden hour is the hour or so after sunrise and before sunset, when the sun is low and the light is warm and soft. Blue hour is the twilight just before sunrise and just after sunset. In November in northern New England, the sun sets around 4:30 pm, so you can catch golden hour without an alarm clock.
Should I use the 0.5x lens for landscapes?
Most iPhones since the iPhone 11 have a 0.5x ultra-wide lens that fits a big scene into one frame (the iPhone SE, iPhone 16e, and iPhone Air have a single rear camera). Because the ultra-wide lens makes distant features look even smaller, I rarely use it in landscape photos.
Landscape photography is one of the easiest ways to start taking beautiful photos with your iPhone. All you need is your phone, a little creativity, and a sense of adventure.
Follow us on social media for more photography inspiration!