Waking up before dawn and leaving my husband sleeping, I creep along the trail, coffee in one hand, camera in the other. It’s still dark, and I’ve forgotten my headlamp.
Fortunately, my eyes are adjusting – the rim of the Grand Canyon is no place to hike in the dark.
I’m heading to a spot I scoped out the day before, not far from our campsite at Desert View Campground in Grand Canyon National Park.
Just as I reach the rim, and the sun is peeking above the horizon, I hear a rustling in the brush behind me, and I’ll admit, I’m afraid. But when I turn to face that fear, I see a lone javelina rooting around in the dirt, totally oblivious to me and my photography shenanigans.
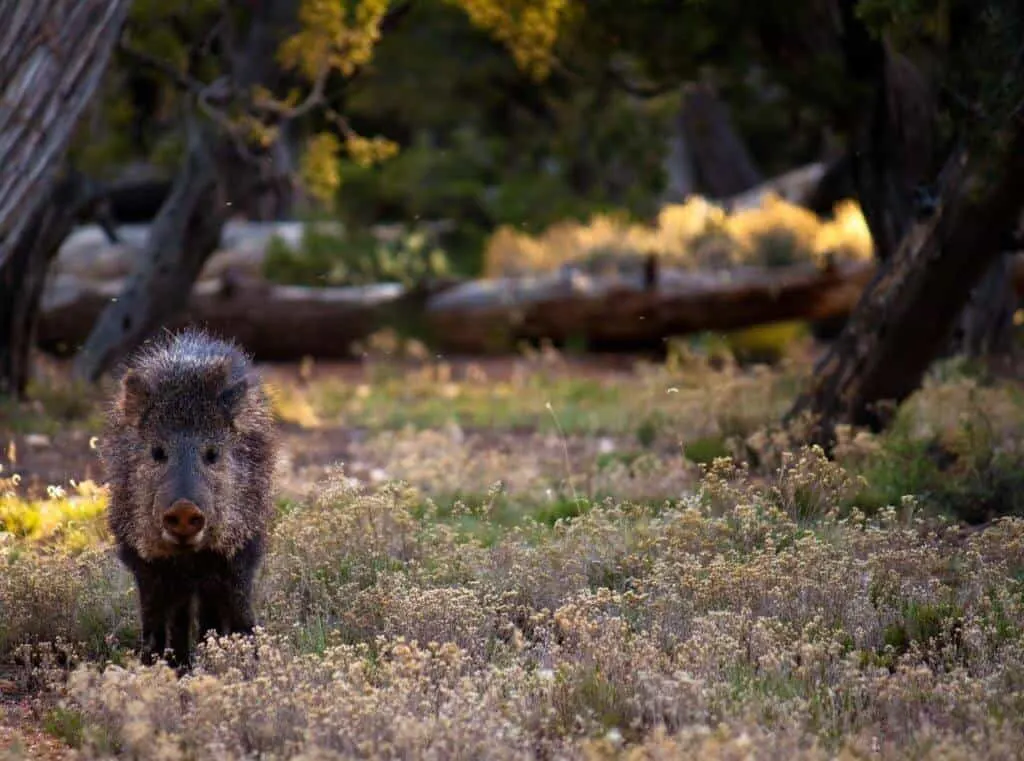
I spend a few moments watching my new friend and then raise my camera to capture a few shots.
Not for the first time, I feel incredibly lucky to be out here, alone with my camera, while the world sleeps. Alas, when I turn back toward the sunrise, it is well above the horizon.
Time to head back to camp.
Outdoor Photography Tips for Beginners
Contrary to what Instagram would have you believe, shooting good photos takes practice, and whether you shoot with your phone or a swanky DSLR, practice is still the most effective tool in your kit.
You don’t have to bring your camera everywhere (that’s what phones are for), but you do have to dedicate some time if you want to improve.
If you think of photography as an afterthought, and are simply snapping off shots without paying attention to composition or lighting, the awesome photos you get will be based entirely on luck.
As you get to know your camera, and practice framing different compositions, your photos will become less about luck and more about skill. I promise.
Here are some easy outdoor photography tips that will help you take better landscape and nature photos no matter what kind of camera you have.
Get out Early or Stay out Late
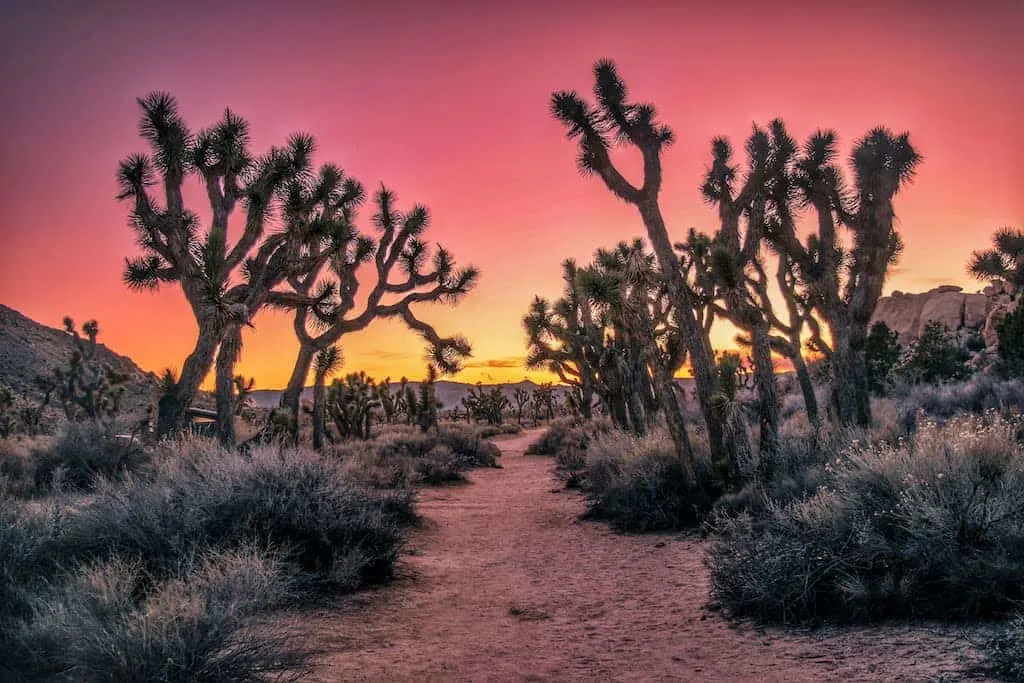
Light is the main ingredient in every single photo you take, but it can be your best friend or your worst enemy, depending on how you use it.
There are a million ways to use light to your advantage, but for the sake of simplicity, look for soft light that is easy on the eyes and the lens.
Shooting during the Golden Hour — just after sunrise and just before sunset, will create a subdued light that is very easy to work with.
I love both times of the day, but when trying to capture scenes in national parks or other popular spots, I almost always choose sunrise when it’s blissfully quiet and wildlife is most active.
Create Depth in Your Photos with an Interesting Foreground
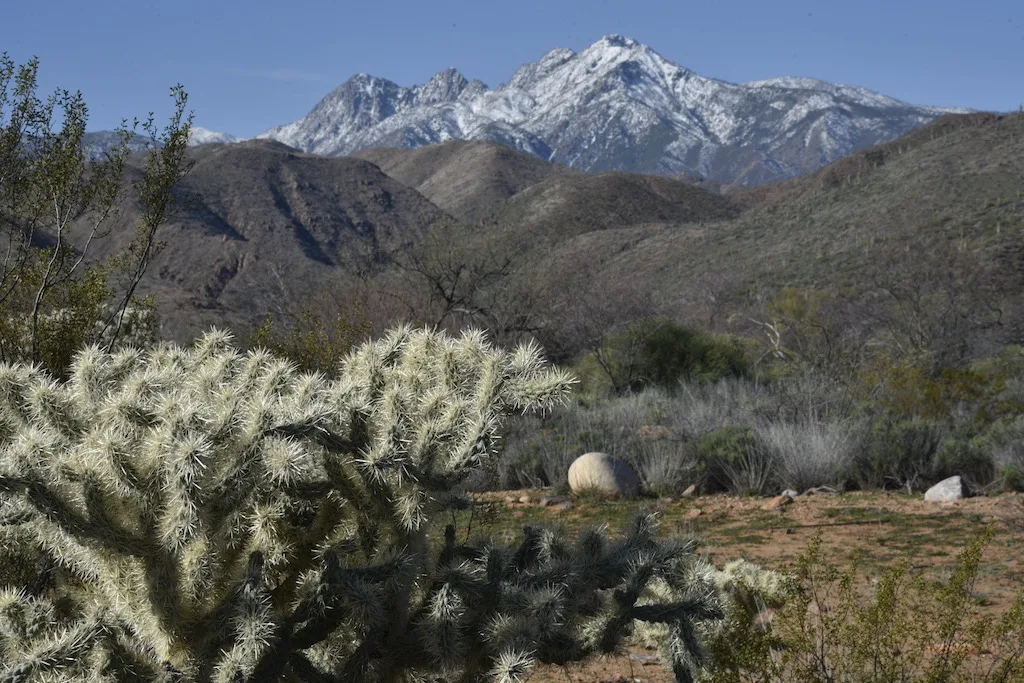
Add depth to your photos by capturing distinct objects in the foreground, middle ground, and background.
The foreground is particularly important when creating the illusion of depth in a two-dimensional photo. Look for interesting objects that you can incorporate into the foreground of your composition, and the rest of your photo will become much more interesting.
Look for Unique Angles and Perspectives
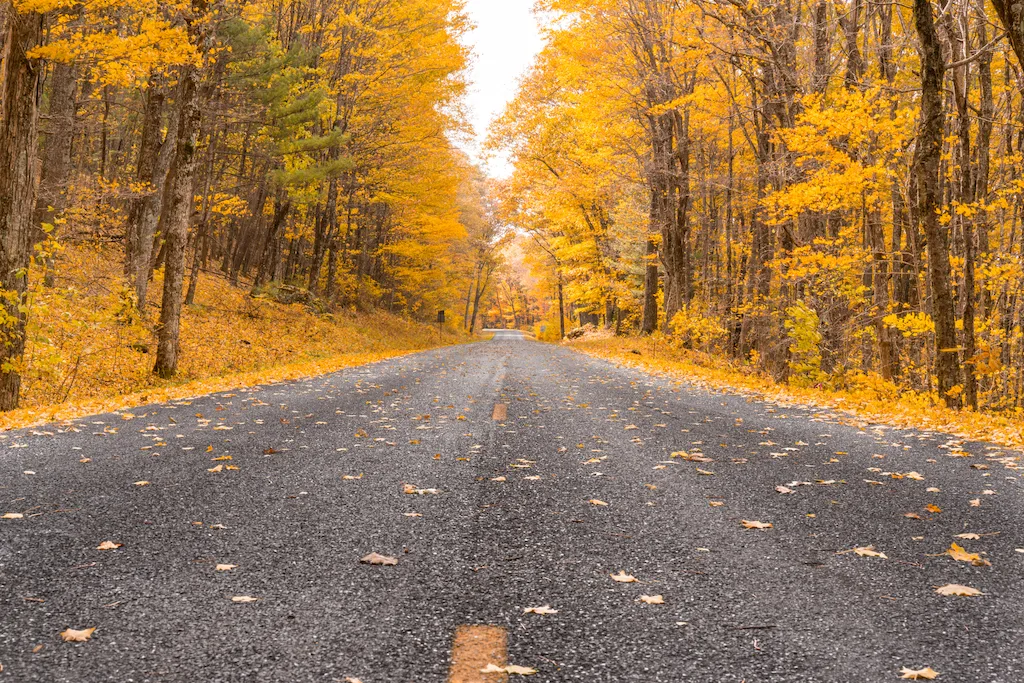
Perspective can be described as the spatial relationships between objects in a photo. To create the illusion of depth on a two-dimensional plane, photographers must pay careful attention to composition, dimensions, and the way objects interact with each other within the frame.
We do this by changing our position and angle to find the most compelling shot.
This sounds more complicated than it actually is, and the more you practice with camera angles and positions, the better your compositions will become.
The easiest and most obvious way to capture a scene is to shoot at eye level. This is also the best way to capture a scene exactly like everyone else.
Next time you’re out with your camera, I challenge you to look for a new perspective.
Climb that big boulder and shoot down into the canyon, crawl on your belly and shoot up into the trees, get off the beaten path, and find a perspective that tells another story about your favorite place.
Put people in Your Photo
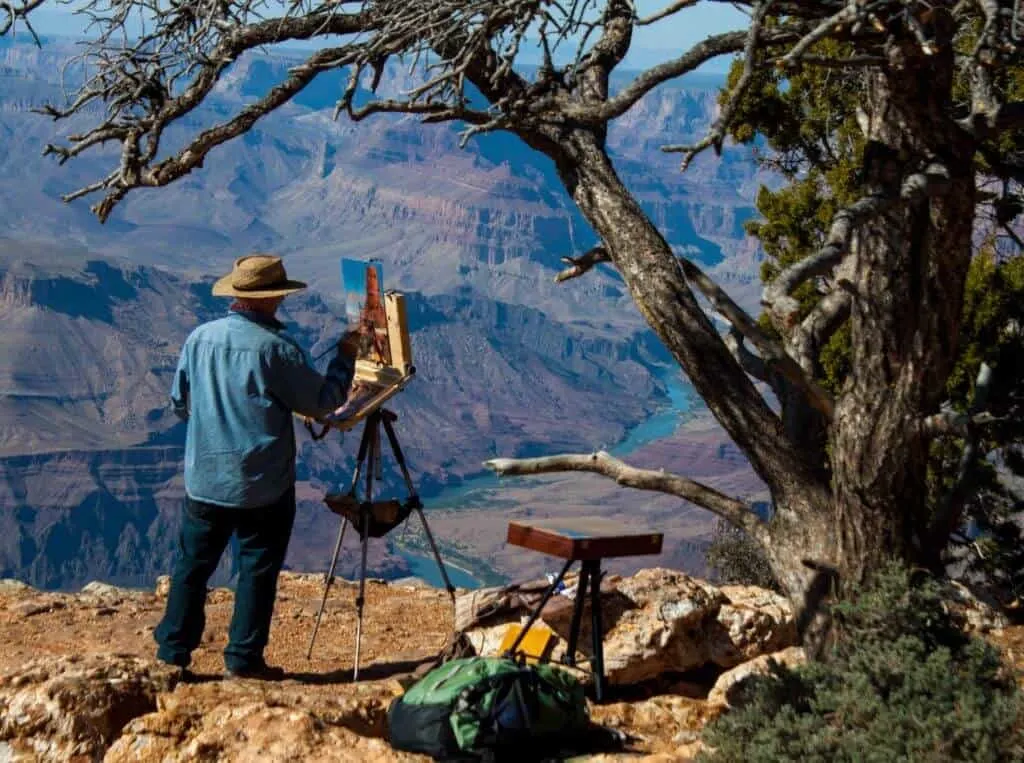
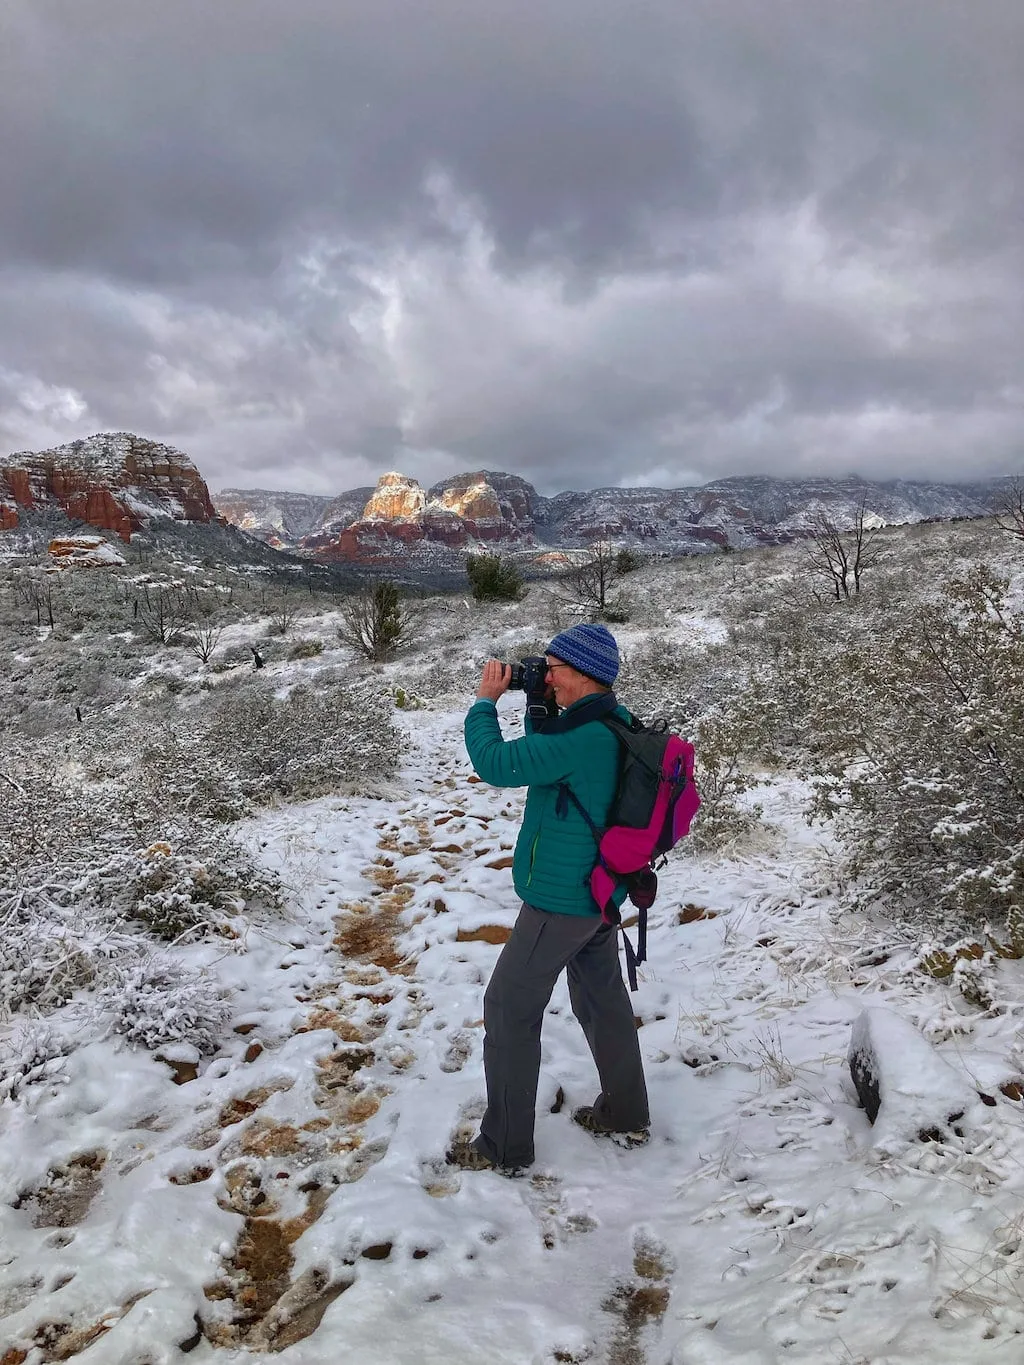
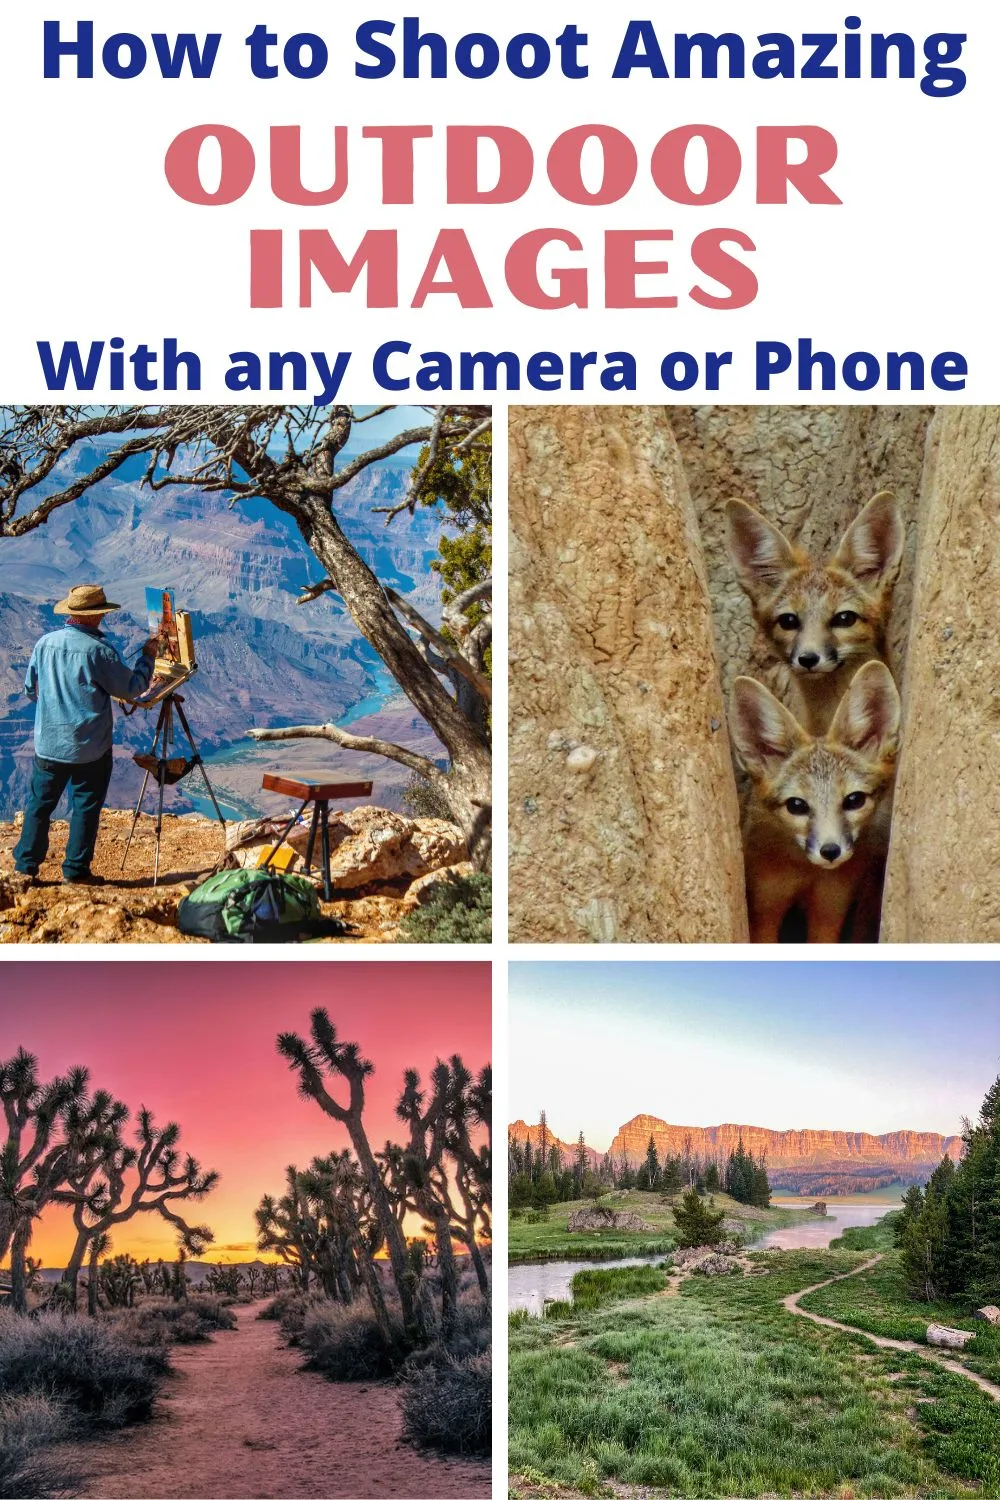
Want to give your gorgeous landscape photo a sense of scale and balance while telling a unique story about the location?
Simply adding in a human element can take your photo from mundane to extraordinary. While adding people to your shot can be tricky, there are a few things you can try to make your image more striking:
- Keep the landscape as your main focus. Selfies have their place, but when shooting landscapes, the scenery should be the main attraction. A carefully composed scene will use the human element to highlight the landscape, not detract from it.
- Break up negative space. Many awe-inspiring and vast landscapes can look bland and monotonous without a focal point. Putting a person in your shot will break up negative space and add interest to your photo.
- Use the rule of thirds. The rule of thirds should be the basis for well-balanced shots, not a hard, fast ‘rule’. Think of your viewfinder (or LCD screen) as a frame that is divided into thirds, both horizontally and vertically, by an imaginary grid. Your focal points, like people, should generally be placed along the intersections of these division lines, as opposed to right in the center of the shot.
Don’t Neglect the Details
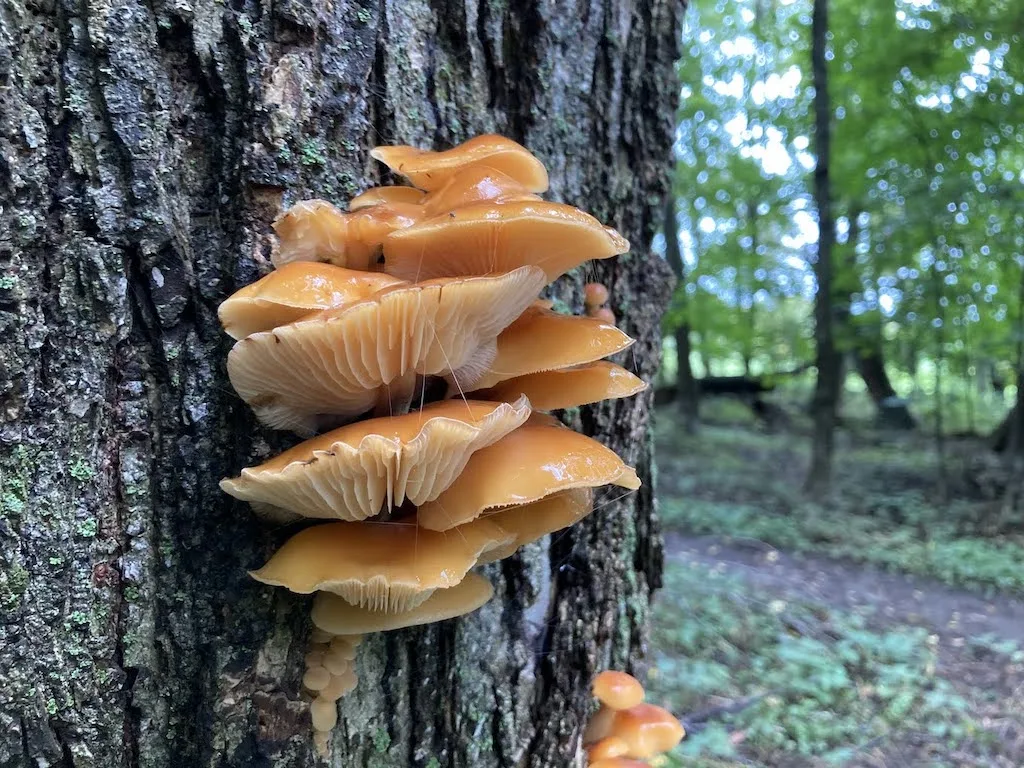
Wide-angle landscape shots are probably the best way to capture the enormity of view, but if you want to tell a story about your outdoor experience, don’t forget to capture the small details. Whether it’s an old trail sign, an unfurling blossom, or a reflection in a mud puddle — the little moments that make up a day in the outdoors can paint powerful portraits of your experience.
These small details in nature are often overlooked, but their beauty is unmistakable.
If you’re just starting your photography journey, don’t be discouraged by the complexity and cost of it all.
Start with what you have and take photos of the things you enjoy most. As your skill and passion grows, you can invest in tools that will enhance them.
Follow us on social media for more outdoor photography tips!
Tara Schatz is a freelance writer and travel blogger with a passion for outdoor adventures. She is the co-author of AMC’s Best Day Hikes in Vermont and currently blogs at Back Road Ramblers and Vermont Explored, where she shares travel tips, adventure destinations, and vacation ideas for the wanderer in everyone.
